Since I had to do another tutorial for The Cookie Cutter Company's site, I decided to make some cookies for the teachers at the Day Care. Thanksgiving is around the corner and is never to early to say THANK YOU!.
These cookies turned out really cute and you don't need hours of cookie decorating work to put them together.
To make these Thanksgiving Cookie designs you will need:
- Indian Cookie cutter
- Turkey Cookie cutter
- White, dark and light brown, red,orange and black royal icing ( stiff for pipping and thin for flooding the cookies)
- Pastry bags, couplers and tips #1,#2 and #59
- Toothpicks
- Rainbow sprinkles
- Food writer
To make the Native American Cookies
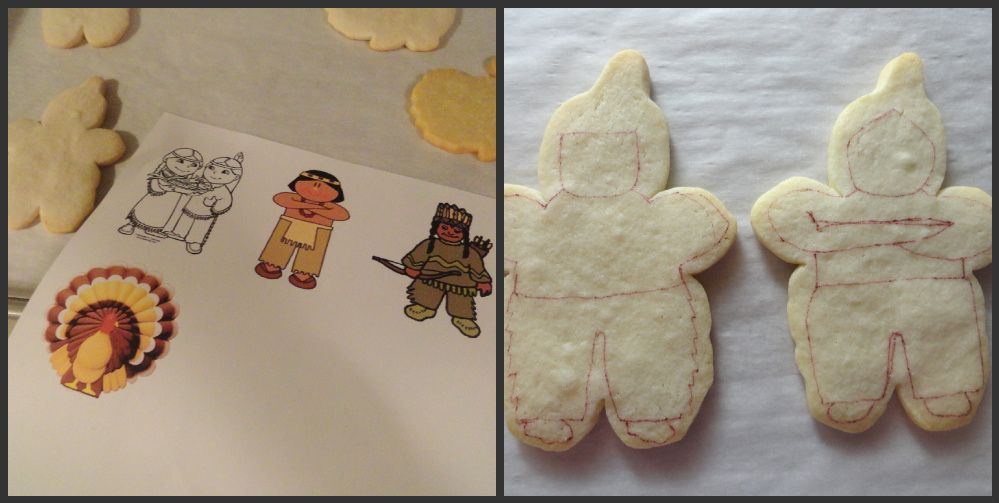
This is the first time for me making these cookies, since I do not have a cookie projector ( and I am sure most of you don't have it either ) I just decided to pull some clip art from the Internet for inspiration.
I hand traced the images using a food writer, I think is easier to do it this way
instead of piping directly onto the cookie.
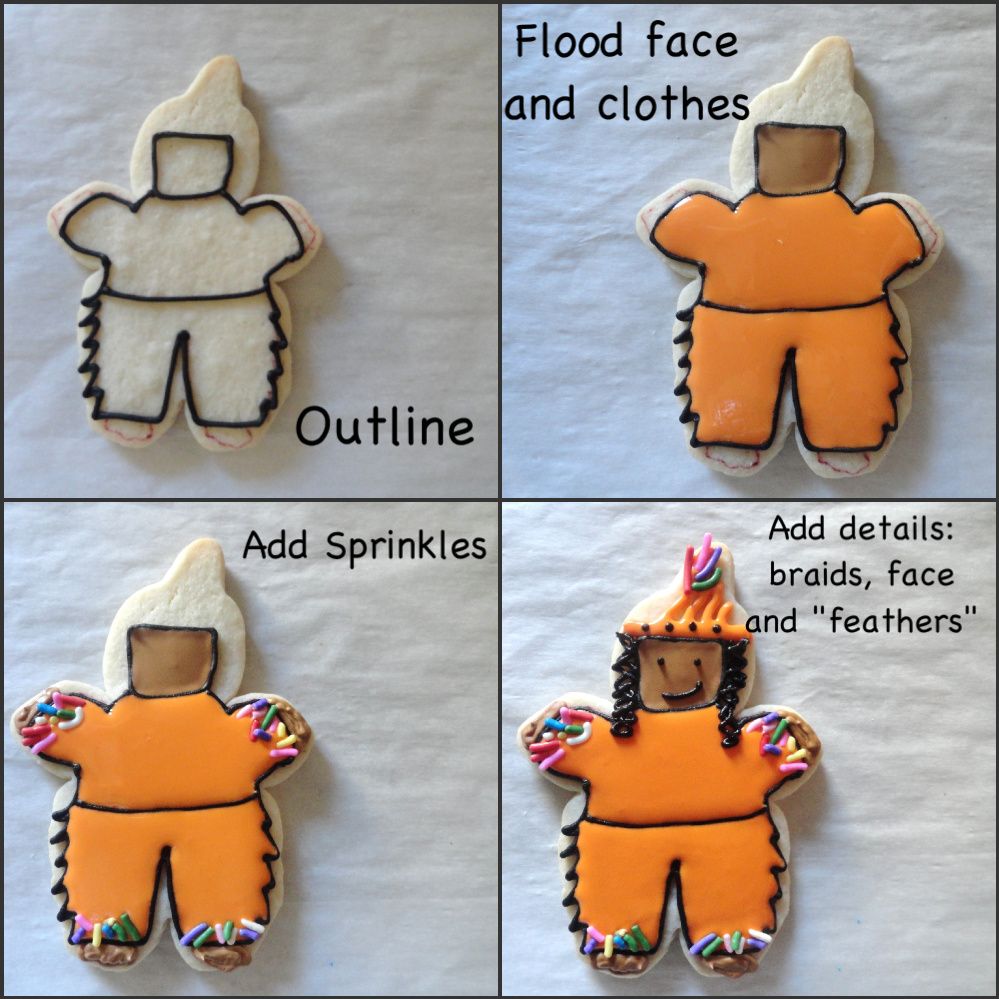
Start piping the lines of both cookies with stiff black royal icing using tip #1 and let them dry for a few hours
I have to say that I enjoyed making the braids for this little fella, I also added the sprinkles to pop a little color . You do not have to worry about making feet and hands with a lot of detail,
I just piped some brown lines.
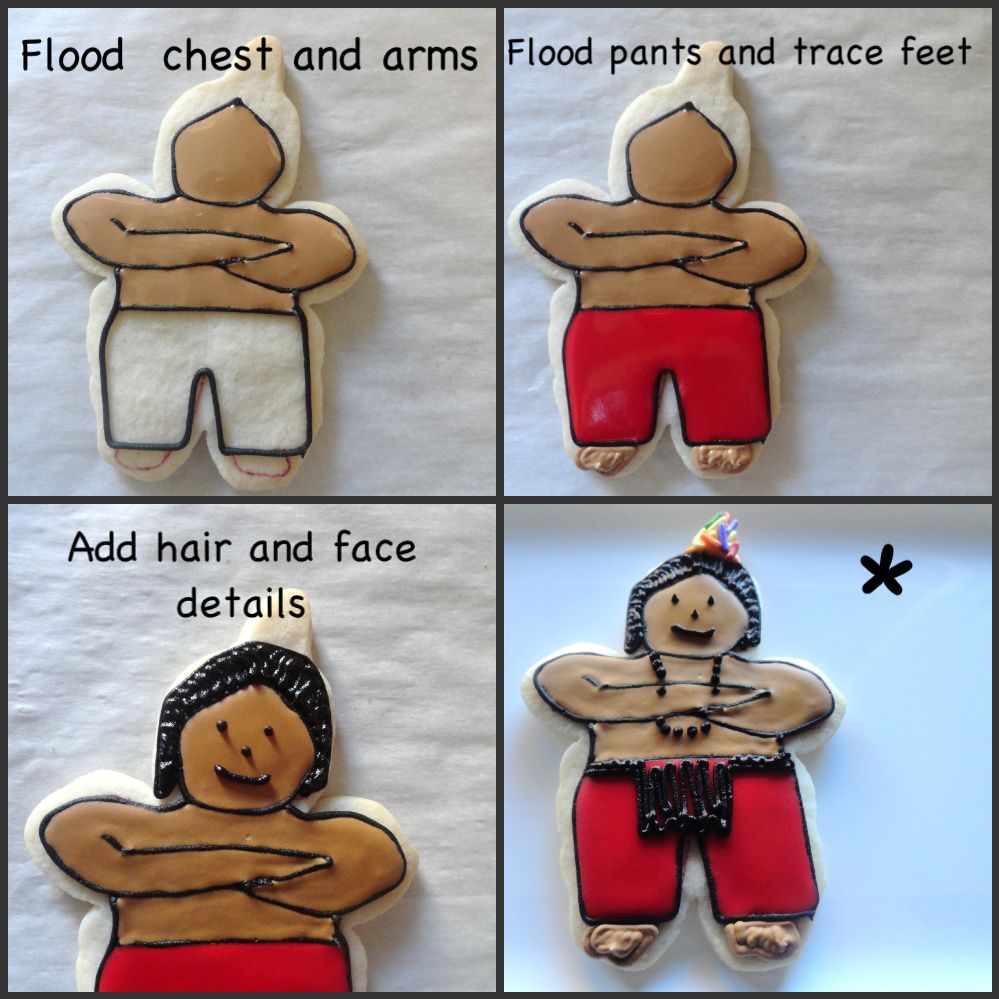
This next cookie is even easier to decorate
*After you are done flooding the cookie, let it dry for a few hours. Attach the sprinkles with a dot of orange royal icing. For the necklace and the pants details use tip #1.
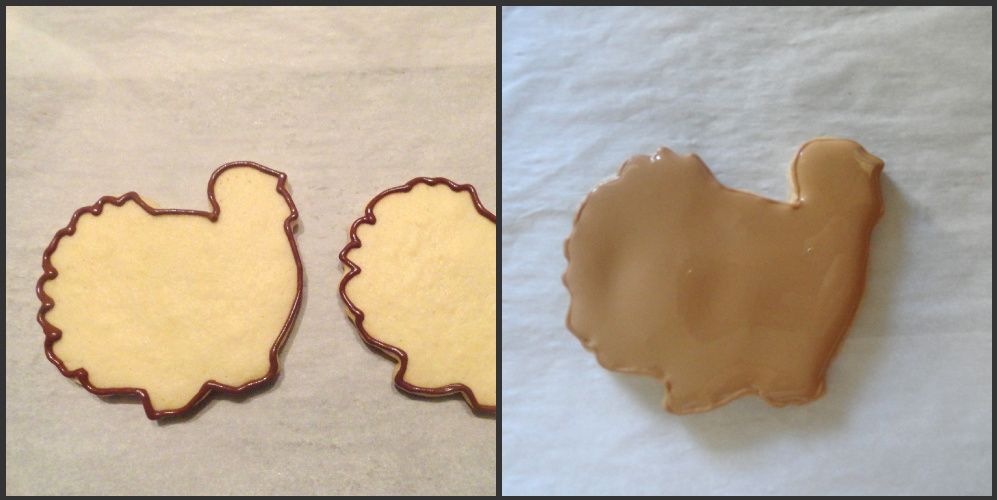
Making the Turkey cookies
Pipe and flood the cookies. Let them dry completely before moving into the next step
For this Turkey cookie, let the cookie dry completely before you start adding the details.
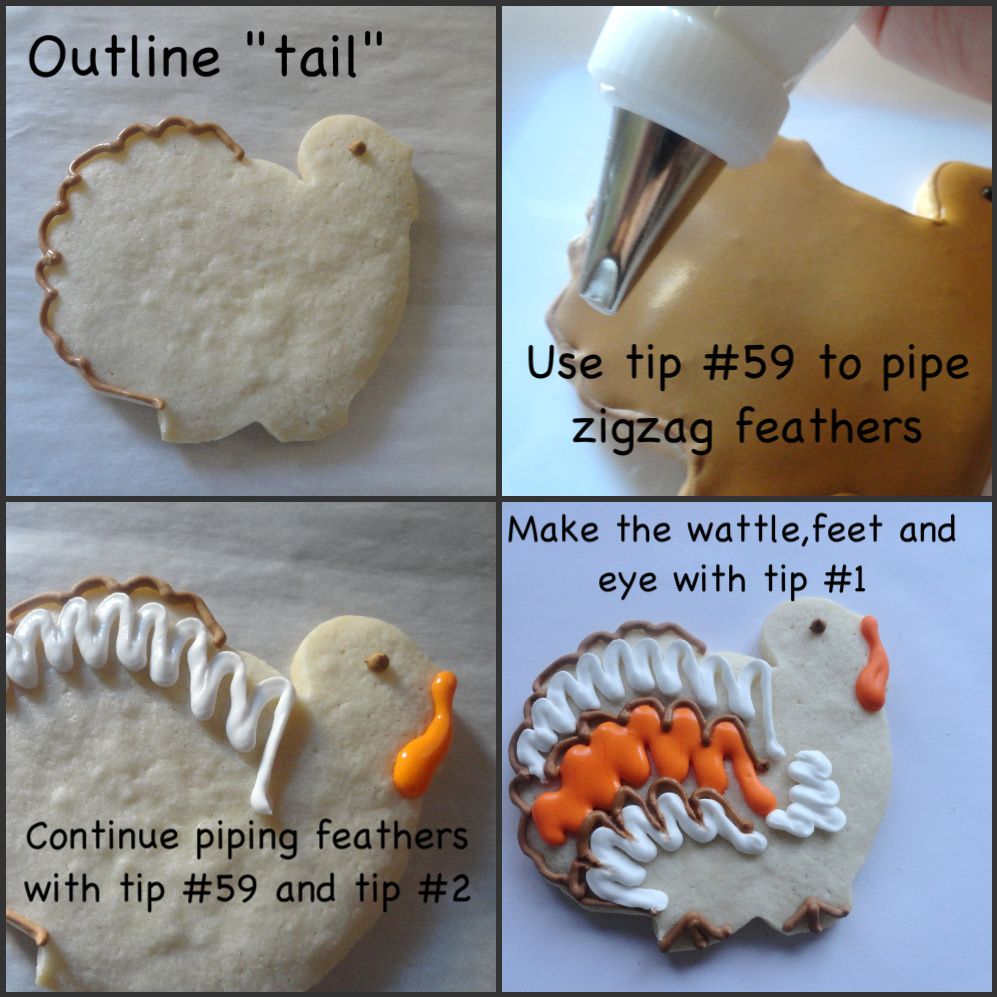
Add the eye and the wattle with tip #1 using stiff icing
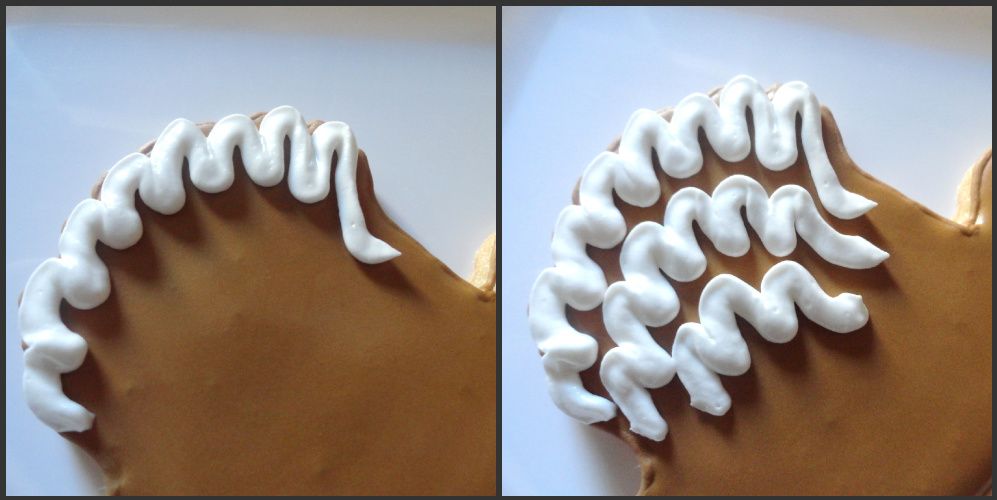
Using tip #59 pipe the feathers with white stiff royal icing . I love using this tip because it has a
curved ribbon border and swag that creates an exciting effect.
This brown and red Turkey cookie has a little more detail
1-Flood the cookie with the brown icing
2-While the icing is still wet, using flood type icing in a squeeze bottle pipe orange and red icing stripes in semicircles around the tail area.
3-Draw a toothpick through the orange and red tail stripes from edge of cookie toward body.
4-Using flood orange icing, pipe a few semicircles to make the wing and draw toothpick through them .Let the cookie dry for a few hours.
Once the cookie is dry, pipe the eye,feet and wattle using tip #1 and outline the tail with brown stiff royal icing and tip #2.
And what about an almost plain tasty cookie?
If you are in a rush it doesn't mean that you can't still make some cute cookies.
For this cookie I didn't want to flood it, I just added details for character and a pop of color
Have a great weekend and thank you for stopping by.
Linked to:












0 comments:
Post a Comment