I am generally resistant to a lot of change. I like my comfort zones. You could probably tell from the large amount of whinging that I've done over the last few weeks how much I hated the whole moving process. But now that I'm finally settled in my new place I think I am kind of loving it. We managed to throw a metric shitload of stuff away while packing, which means that our new place is so much less cluttered. I can actually see all my props now! I've also realised that I've inherited some of my Mum's hoarding habits, because I was holding on to so much ridiculous stuff that I was never going to conceivably use or need or want to see any time in the future.
So this was my first proper weekend in my new place. A newer oven, hopefully better than the old clunker that I've grown accustomed to working with in my old place. I decided the best way to test it out was to make a good ol' batch of scones. (I am too scared to try macarons in it yet) As part of the whole nostalgic experience of leaving my old place got me looking into my very early blog posts and I came across these golden syrup scones from way back when. I couldn't believe I hadn't made them more since then. I remember this recipe was ridiculously good.
I decided to try it out with a bit of a change, switching the sticky super sweet golden syrup for the slightly runnier, darker maple syrup. As much as I love golden syrup I know it can be hard to get hold of good quality stuff in a lot of places. And I had a bottle of maple syrup sitting in the cupboard begging to be used. I was interested to see which version would be better.
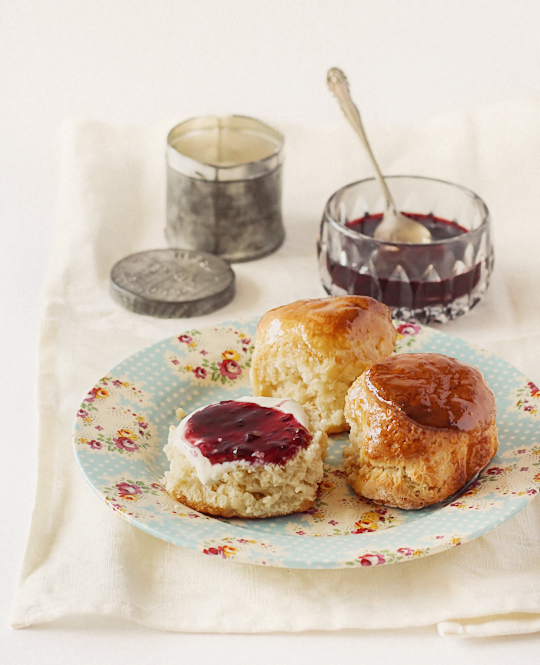
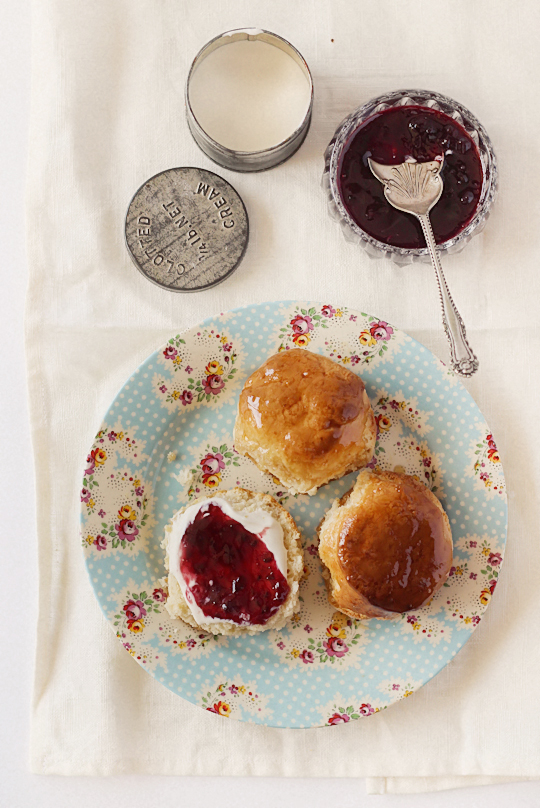
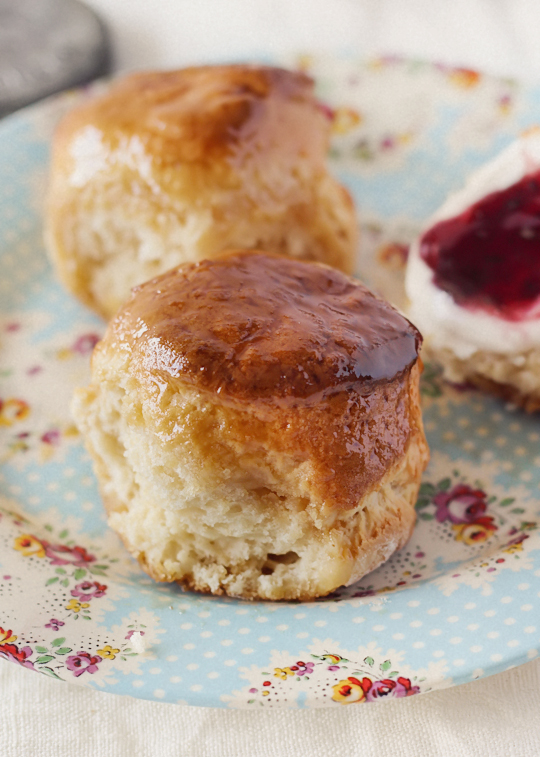
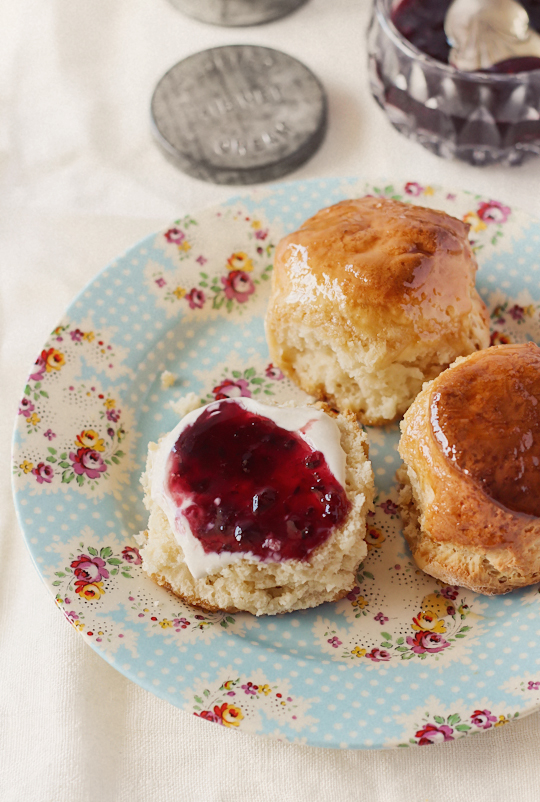
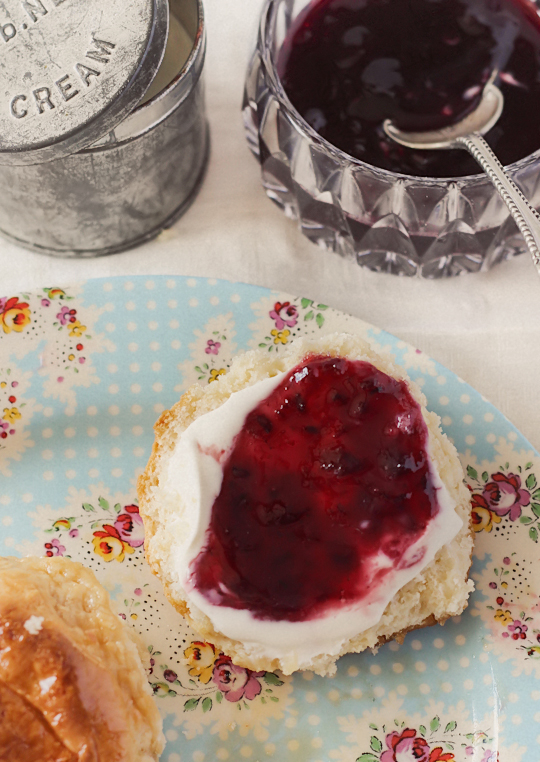
To be honest they were pretty similar but they are both amazing so you can't go wrong with either version. You end up with the soft, fluffy pillows of scone goodness thanks to the cream scone base, and the sticky sweetness from the syrup. It's only just a hint of sweetness, so you can still eat it with jam and cream. But I would definitely recommend trying it with a slightly less sweet jam like a cherry jam. I also served it with crème fraîche, which worked really well because it had a slight tartness to offset the sweetness of the scones. I always love a classic plain scone but I think the sweet tooth in me secretly likes these ones better. Anyway you might have to bear with me as I get used to working with a new oven and figuring out the light and the best places to take photos in my new place, I'm definitely looking forward to finding my new comfort zones.
Maple Syrup Glazed Scones
(makes 8-9 scones, adapted from these Golden Syrup Scones)
2 cups self-raising flour
2 tbsp sugar (I used caster (superfine) but regular granulated white sugar is fine too)
2 tbsp pure maple syrup + about 1/4 cup extra for glazing after baking
1/2 cup (125ml) milk
1/2 cup (125ml) pure/pouring cream (or heavy cream in the US, min 35% fat unthickened)
Recommended to serve: crème fraîche or clotted cream, and a not too sweet jam (I used a black cherry jam)
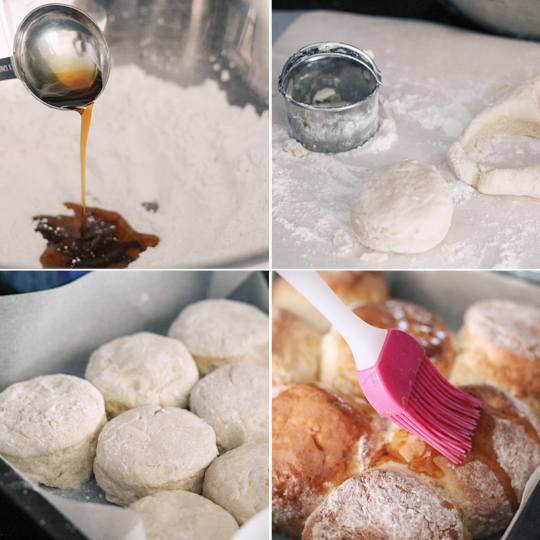
Preheat oven to 200°C (390°F) (fan-forced 180°C (350°F)) and line a heavy based baking dish with sides (or a 20cm square cake tin) with baking paper. Sift flour and sugar together in a large mixing bowl. Make a well in the centre, place the maple syrup in and then pour cream on top. While gradually adding the milk, start to mix lightly and quickly with your butter knife using a cutting motion until just combined. You may want to slow down adding the milk just as you get to the last 1-2 tbsp of liquid as you may not need to add all of it. the mixture should be sticky but you should be able to gently handle it with floured hands.
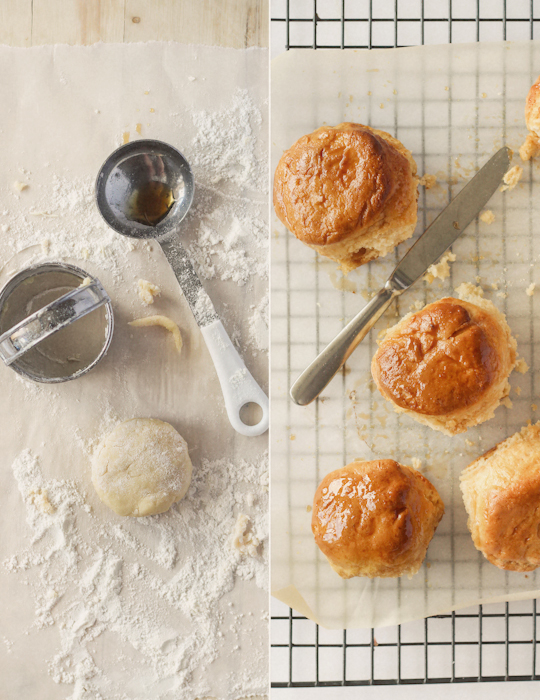
Working quickly and gently, gather dough together on a floured bench. Try to handle the dough as little as possible, using lightly floured hands to stop dough sticking to you, and pat the dough into a rectangle about 3-3.5cm thick. You can lightly knead the dough with your hands for a smoother appearance but overknead it and your scones will be tough and hard.
Cut out round using a 5-6cm scone cutter (push the cutter into the dough, don't twist) and place next to each other in prepared tray (scones baked close together will rise higher and thus be lighter). I usually manage to cut about 5-6 scones, then I pat the scraps together and cut out another 2 and finally pat the scraps from that together into a ball to form the final scone.
Bake for 15-20 mins, until scones are cooked through and tops are lightly browned. You can test in the insides to check if they are done by inserting a skewer in between two if the scones. If it comes out with any raw dough attached it needs to bake for longer. As soon as you remove the scones from the oven, brush the tops with maple syrup. Make sure to only brush a thin, even layer while the scones are still piping hot or the tops will go soggy. Serve immediately with crème fraîche and jam. If you have leftover scones let them cool completely then store in an air-tight container in the fridge and warm up in the microwave for 20-30 seconds before serving again later.



0 comments:
Post a Comment