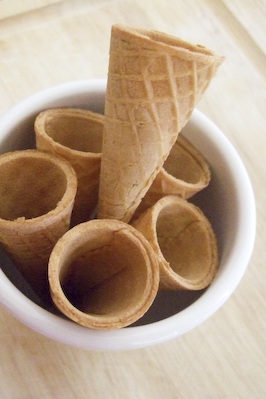
It all started with these tiny ice cream waffle cones. I picked them up during our
walking tour of Surry Hills, and immediately started thinking up all sorts of crazy things to do with them. But I've had a bit of a baking block recently and so these little cones were relegated to the back of my baking shelf and forgotten about for a week. Then I woke up the other morning and just started running around my kitchen randomly grabbing things, determined to come up with something sweet to bring to
Lex's, since he was cooking an awesome dinner for us.
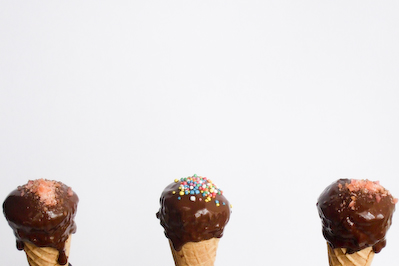
Aren't they adorable?
I wasn't sure what I was making until I was about halfway through. My original plan was to somehow fill these cupcakes with neopolitan flavours - vanilla, strawberry and chocolate, but I kept changing my mind about how I would incorporate all these flavours. Strawberry mousse? Vanilla marshmallows? Chocolate fairy floss? In the end I kept it simple, but yummy (of course) and sure to make you giggle like a little kid.
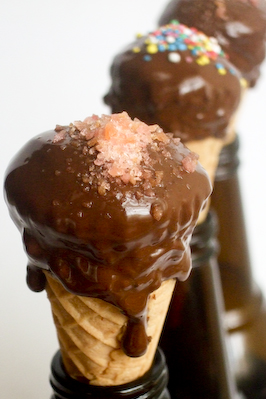
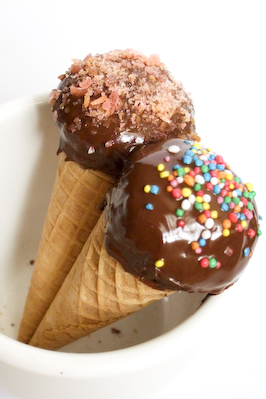
The cones were filled with vanilla white chocolate, and then topped with a strawberry flavoured popping candy. I then pulled out Nigella's faithful
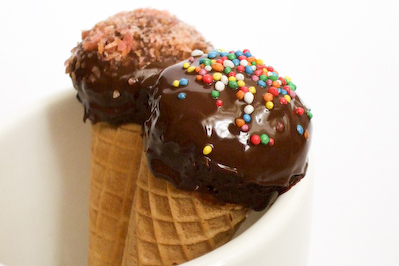
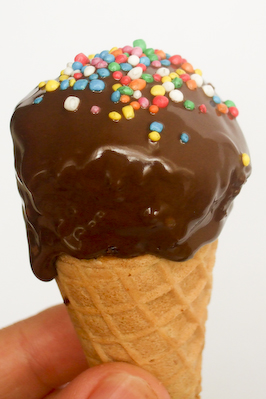
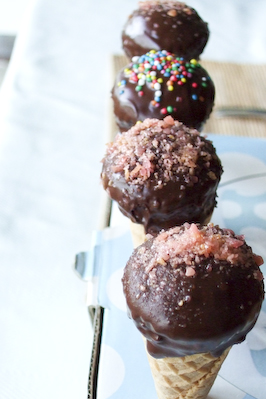
old-fashioned chocolate cake recipe to bake super moist mini-cupcakes which were shoved on top of the cones and then coated in melted chocolate. I couldn't decide how to top them off, so I experimented with more popping candy and multicoloured sprinkles. The sprinkles probably looked much prettier, but there's always more fun when there's popping candy involved!
Though they were fiddly and messy to make (my kitchen was covered in chocolate and popping candy, to the point where my entire counter top and sink were cracking and popping away when I was wiping up), the final result was so cute! The surprise load of popping candy in the centre was definitely a crowd pleaser, everyone was saying "What crackling candy?" after first biting into it, followed by "Ohhh!!!" and much giggling ensued. And though I love my cupcakes, I definitely need to get my hands on more of these little cones so I can experiment with different desserts :)
Ice Cream Cone Cupcakes(cake recipe adapted from Nigella Lawson's Old Fashioned Chocolate Cake)15 mini waffle cones
150g vanilla white chocolate (I used Green & Blacks Organic chocolate since it already had vanilla beans in it, you could probably melt regular white chocolate and mix in vanilla bean if you can be bothered)
Popping candy (strawberry flavoured if you can find it, if you can't get any you could always try using sherbert instead!)
100g plain flour
100g caster sugar
1/2 tsp baking powder
1/4 tsp bicarb soda
20g Dutch process cocoa powder
85g unsalted butter, softened
75g sour cream
1 large egg
1 tsp vanilla extract
100g good quality dark chocolate
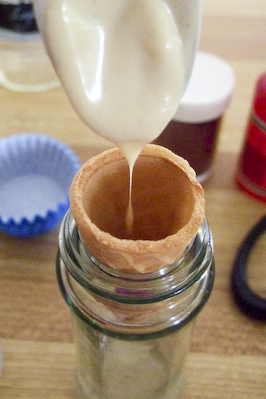
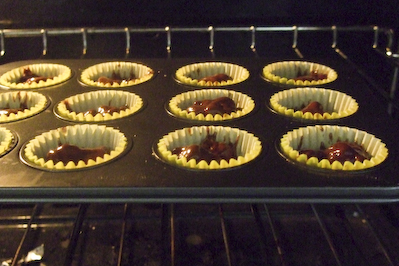
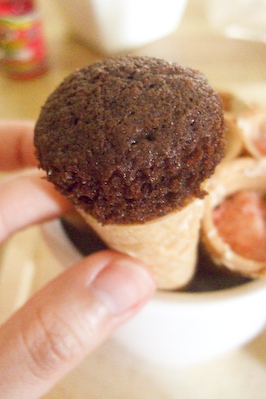
I'm a lazy bum, so I didn't bother melting my vanilla white chocolate over a double boiler. Instead I broke it up into small pieces and stuck it in the microwave on high for 30 seconds at a time and then stirring it, and kept doing this until it was nicely melted. Using a small spoon and drizzle the chocolate into the base of the mini cones (yes that really is an empty herb bottle that I used to hold up the cone while I worked with it). Fill these about 2/3 full. Set the cones aside to cool standing upright.
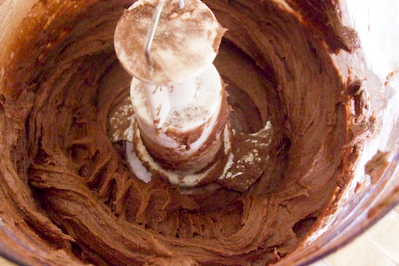
Preheat oven to 180 degrees C. Place flour, sugar, baking powder, bicarb soda, cocoa, butter, egg, vanilla and sour cream into a food processor and pulse until all the ingredients come together and you have a smooth, thick batter. Yes it really is that easy!
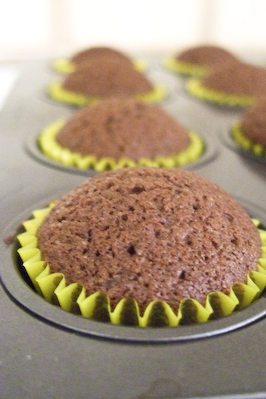
Spoon the batter into a lined mini muffin tray (about 2/3 full) and bake for about 10 minutes or until a skewer comes out clean and the cake springs back slightly under your finger when you press it gently. Remove from the tray and cool completely on a wire rack.
This should make about 24 mini cupcakes, which is more than you need, but that's okay because you need to taste test and it's good to have extra incase you stuff up! Remove the cakes from their papers. If you really don't think you will be able to squeeze the bottoms of the cakes into the tops of the cones you can use a sharp knife to trim the edges of the cakes so they will fit.
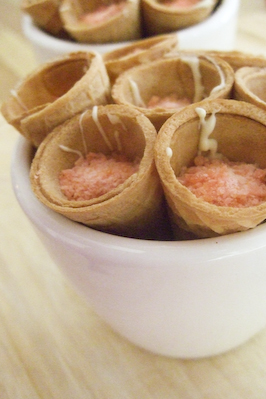
While the cakes are cooling, fill the cones with popping candy. Be careful not to let moisture get to the candy, or they won't pop later on. I used a mini funnel to avoid getting candy all over the floor.
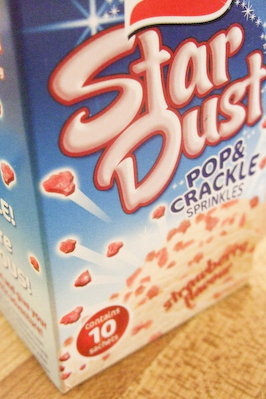
Make sure you leave about half a centimetres space at the top of the cone so that you can wedge your cupcake on top! I was lucky enough to find this new strawberry flavoured popping candy in the ice cream topping section on my supermarket. It was perfect!
Grab your cooled chocolate cakes and
gently squeeze them into the tops of the cones. They are very crumbly, so it is easy to squeeze them too hard and for them to break into pieces. It's okay if this happens, remember you have extra! Gently pat them into a nice round shape.
Melt your dark chocolate in the microwave, the same way that you did for the white chocolate. Do this in small batches (I did four squares of a chocolate block at a time) so that it doesnt get too hard while you are coating the cake. Since the cake is very crumbly, the hot melted chocolate can make it fall apart if you are too rough with it. I used a small teaspoon to gently pour and spread the melted chocolate over the tops of the cake, and ensured that it reached the tops of the cones, to help secure the cake in place. A little bit of chocolate dripping down the cone is okay, it looks tasty :D
Leave them aside for a couple of hours to set, I actually ended up using beer bottle tops to keep them standing up while they cooled! You could also just get styrofoam or make a makeshift carry tray like I did - I grabbed a small cardboard box and used a steak knife to stab a bunch of holes into the lid to stick the cones into. It worked as a perfect transport to get to dinner, and much less weirder than carrying a dozen beer bottles!
Of course the curious food bloggers wanted a cross-sectional shot of the cones, so this is the result of
Richard's clean cutting skills and
Simon's neatening-up, thanks guys! These are best eaten on the day you make them, the cones went pretty soggy the next day but that might not have happened if I had refrigerated them. My favourite part of eating the gooey chocolate covered cake and then being surprised by the big mouthful of popping candy straight after. Can you tell I love to channel my inner child a lot?
My makeshift cone carrier!
P.S. This post is for Julie, for getting the summer internship. Hurray!


0 comments:
Post a Comment