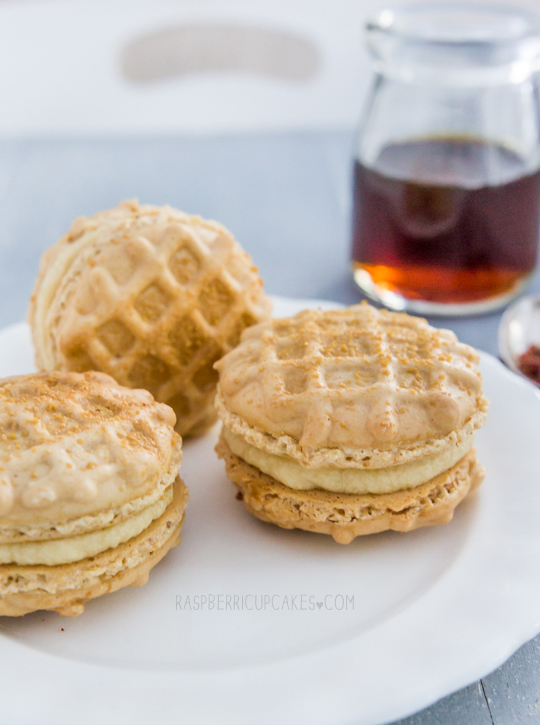
This is what happens when you leave me at home, bored on a long weekend with bacon and maple syrup. Magic! Or weirdness, depending on the type of person you are. If you're like me and believe that bacon is the answer to many problems, then CELEBRATE! This is the macaron for you. Now for those of you who are weirded out by the idea of a bacon-flavoured macaron, just hear me out first. I've been very hesistant to use bacon in any of my dessert recipes (except for this one), and so I only use it when I'm sure it's going to work appropriately well. It really does work this time. If you still don't wanna hear any part of it, take out the bacon and you still have a very cute and tasty maple waffle macaron.
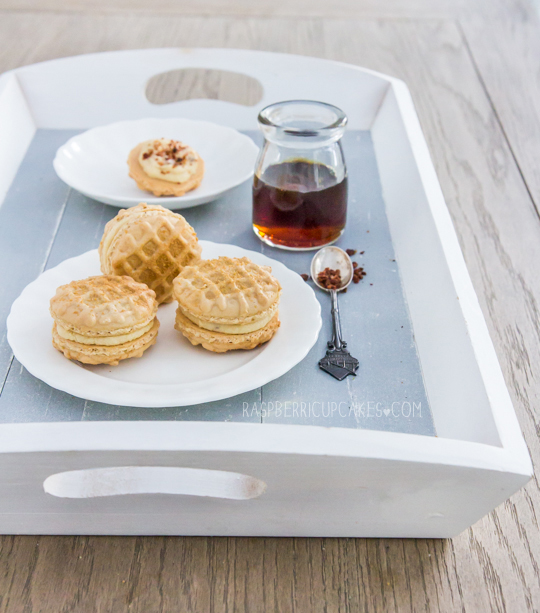
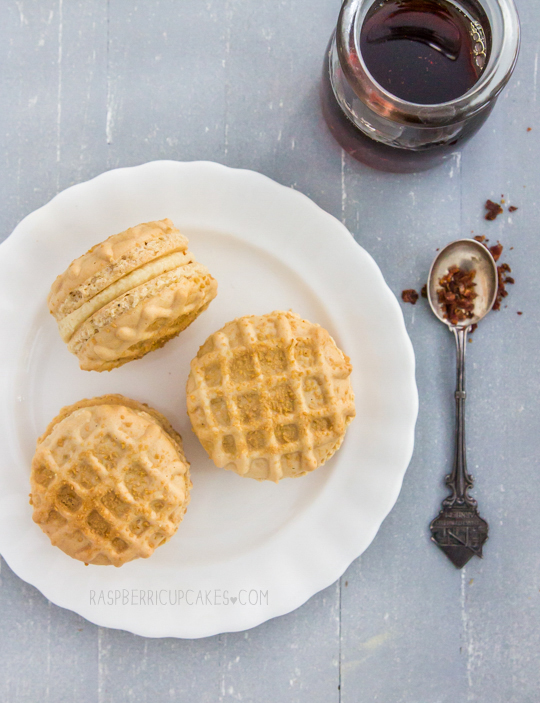
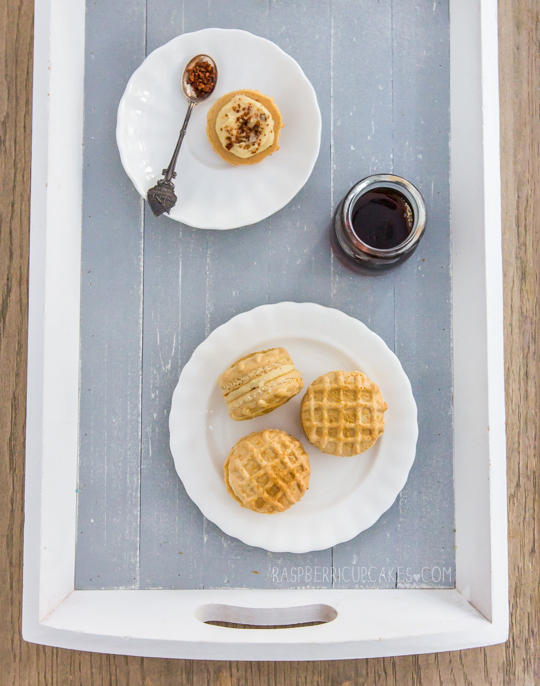
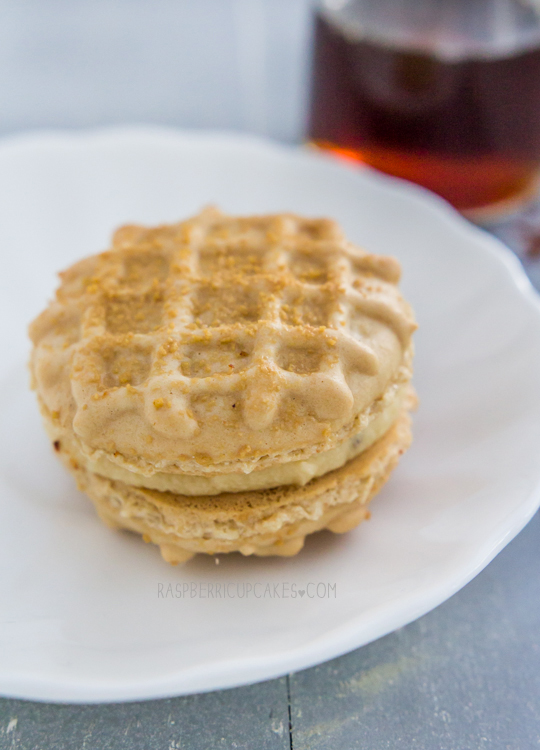
That's right, macarons that look like WAFFLES. And taste of maple syrup and BACON. Yeah! So cute and delicious. When I first had this idea, I was worried about how I would make them look waffley, but it turned out to be very easy. I made some brown sugar macaron shells and piped extra macaron batter over the top in a criss-cross pattern. I also sprinkled some maple sugar over the top of each one to make it extra maple-flavoured.
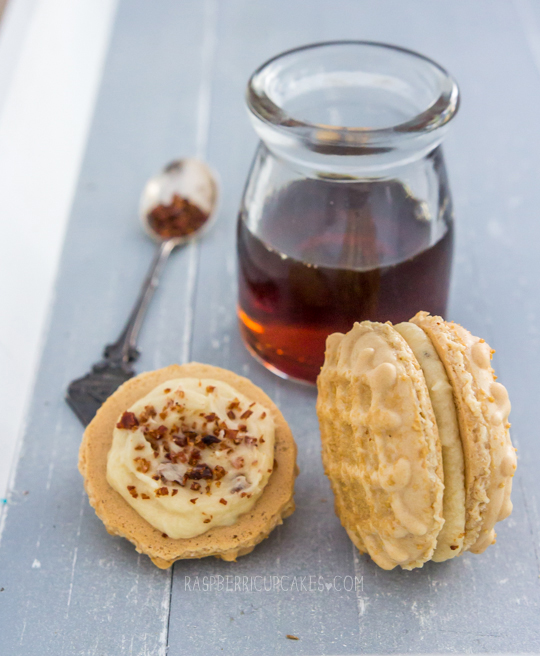
The icing that I filled these macarons with is the magical part of this recipe. Who knew that bacon fat would make an icing sing. That's right, bacon fat. I cooked up a big batch of streaky bacon and kept the bacon fat from the pan, cooled it and then whipped it up with the butter. WOW. I know it sounds random and possibly gross, but it totally works. I went one step further and crumbled up some extra crispy bits of bacon up and added it to the middle of the macarons. I love waffles with bacon and maple syrup. I love waffle macarons with bacon and maple syrup buttercream!
To say that I'm pleased with how these turned out would be a huge understatement. I am thrilled. It's been a while since I've thought up a new baking idea that's worked out exactly (if not better) than I had hoped. Happy!
Waffle Macarons with Maple Bacon Buttercream
(makes about 12 macarons)
For the macarons:
Note: These macarons are a little trickier, if you are a beginner with macarons read up and practice plain macarons first. BraveTart has lots of useful advice and info on the subject
100g egg whites, at room temperature
1/4 tsp salt
110g almond meal, at room temperature and well sifted
200g icing (confectioner's) sugar
50g brown sugar
Optional: Pure maple sugar to decorate (thanks to The Essential Ingredient for sending me a sample to try!)
- Line two baking trays with good quality baking paper.
- Place icing sugar in food processor and pulse for a minute to remove any lumps. Stir in almond meal and pulse for about 30 seconds to combine. (If you don’t have a processor just sift together with a fine sieve.) Sift into a large mixing bowl and set aside.
- Using an electric mixer, beat egg whites and salt in a medium mixing bowl until it reaches soft peaks. With the mixer on high speed, gradually add brown sugar and beat until it reaches stiff peaks.
- Add meringue to your dry mixture and mix together with a spatula, quickly at first to break down the bubbles in the egg white (you really want to beat all the large bubbles out of the mixture, which is easily done by smearing the mixture on the bottom and side of the bowl with your spatula), then mix carefully as the dry mixture becomes incorporated. Mix until it starts to become shiny again. Take care not to overmix, the mixture should flow like lava and a streak of mixture spread over the surface of the rest of the mixture should disappear after about 30 seconds.
- Place about 1/4 of the mixture in a separate piping bag with a narrow (about 2mm wide) round tip if you want to make the waffle pattern. Place remaining mixture in a piping bag with a 1cm round piping tip. With the larger bag, pipe circles about 3.5cm wide on your prepared trays, leaving about 3cm space around each one. Tap baking sheets carefully and firmly on the benchtop a couple times to remove any large bubbles. Leave to dry for about 20 minutes.
- Using the bag narrower tip, pipe a cross-hatch pattern (example) over the top of each piped circle.
- Sprinkle maple sugar over the top of each piped macaron.
- Leave to dry for about 60 mins more, until when you press the surface of one gently it does not break/stick to your finger. This will help prevent any cracking and help the feet to form on the macs. (I find the easiest way to do this is to point a fan at the shells, but make sure you stick or weigh down the baking paper first)
- Preheat your oven to 130-150°C (265-300°F), depending on your oven (fan-forced ovens may need to be set as low as 100°C, it really depends) . You can place the sheet of piped shells on top of an upside-down roasting tray or another baking tray, for better heat distribution.
- Bake for 20-25 minutes, depending on the size of your shells. Carefully test if the base of the shell is ready by gently lifting one and if it’s still soft and sticking to the baking paper, then it needs to bake for a few minutes longer.
- Remove from the oven and cool on the tray for a few minutes, then gently remove from the sheet and place on a wire rack to cool.
For the Maple Bacon Buttercream:
100g (7 tbsp) butter, softened
1 cup (about 150g) icing (confectioner's) sugar
2 tbsp (about 25g) cooked & cooled bacon fat (can replace with more butter)
1/3 cup pure maple syrup
Optional: crispy bacon bits (I fried up a batch of streaky bacon until it was super crisp, let it cool (and saved the bacon fat drippings) and then very finely chopped up the crunchiest bits).
- Place butter, icing sugar and bacon fat in a large mixing bowl.
- Beat with an electric mixer on low, gradually add maple syrup until combined and then beat un high until smooth and fluffy. You can adjust the amount of icing sugar or maple syrup to attain the right consistency, you want it to be stiff enough to hold it's shape but runny enough to be piped or spooned.
- Place in a piping bag or spoon mixture between macaron shells to fill them. You can sprinkle a small amount of crispy bacon in the middle of each befor sandwiching.
- Place in an airtight container and refridgerate overnight to allow flavour to mature.
- Can be stored in the fridge for several days, serve at room temperature.



0 comments:
Post a Comment