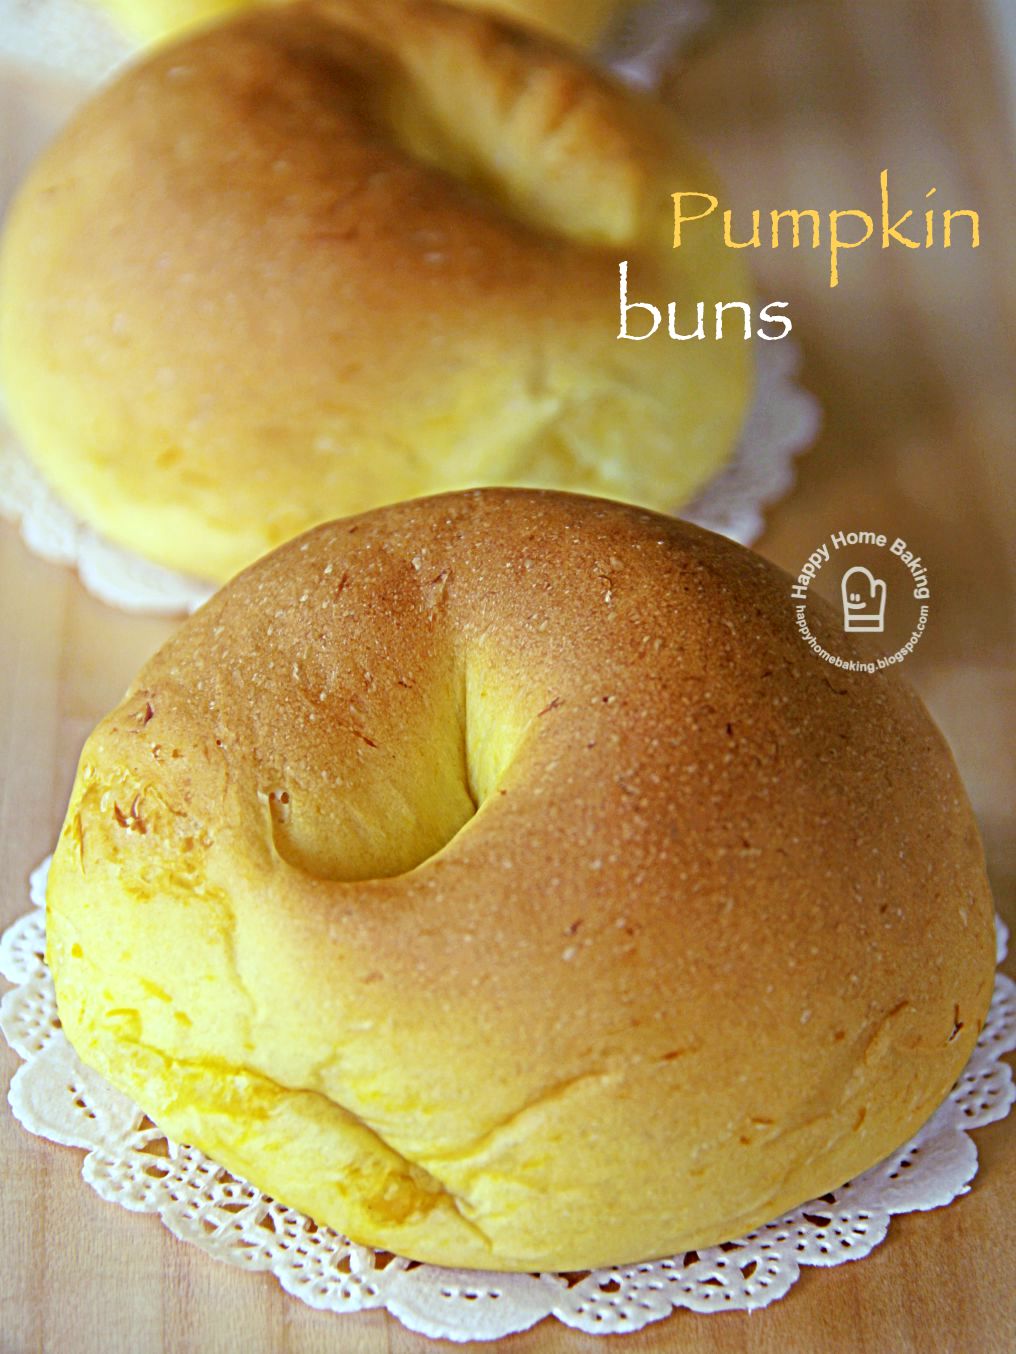
Halloween Pumpkin Bread Buns
I made these pumpkins look-a-like pumpkin bread buns with pumpkin filling on a whim since we don't celebrate Halloween.
My first (and the only) Halloween experience was more than fifteen years ago when we stayed in Los Angles for a few months. I took my then two year old boy, who was wearing a Thomas-the train costume, treat-or-tricking in our neighbourhood. I actually bought a Batman costume for him but it was too small. So I returned it and managed to get the Thomas outfit from another store. The feeling was really good when we could return stuff and receive full refunds with no question asked.
Looking back, I am glad we were game enough to join in the Halloween fun, it probably will be a once in a life time thing for us. Furthermore, my son was still so young, if he were a few years older, he would never ever agree to put on any halloween costumes ;)
I learned how to shape the pumpkin buns from this video by 'Carol 自在生活'. Each bread dough is wrapped around with a kitchen twine before it is left to proof the second time. This creates 'segments' on the bun making it looks very much like the ribbed skin of a pumpkin. My pumpkin buns didn't look as good as those made by Carol...the 'segments' were not very uniformed, some turned out bigger than the rest (^_^!)
Since I made these pumpkin shaped buns without planning ahead, I couldn't think of anything but to use chocolate chips to double up as the stems for the pumpkins. It didn't look too bad though.
This is the 'original' pumpkin buns I had in mind...using another shaping method...looks like I have to practise a few more time to get it right.
The pumpkin filling is very delicious, it has a nice buttery flavour, not too sweet and not dry.
I did not follow Carol's bread dough recipe exactly. Yet, the texture turned out to be very soft despite using a straight dough method. The buns were able to stay soft the next day. For the two leftovers which I kept in the fridge till the third day, I reheat them before serving and they were just like freshly made buns. I am so satisfied with the recipe that I will be making another batch to give away soon!
Pumpkin Bread Buns
Ingredients:
(makes 9 buns)
for the bread dough:
250g bread flour
15g caster sugar
2g salt (about 1/2 teaspoon)
3g instant yeast (about 1 teaspoon)
80ml milk
100g mashed pumpkin (nett weight of pumpkin which is steamed, drained and mashed)
15g unsalted butter (cut into cubes)
for the filling:
300g mashed pumpkin (nett weight of pumpkin which is steamed, drained and mashed)
30g sugar
30g unsalted butter
*9 pieces of kitchen twine (90cm each), soak in oil
Method:
to make filling (watch video here):
* Pan fry mashed pumpkin in a pan till fairly dry. Add in butter and sugar and pan fry till well mixed. Dish up and leave to cool. (Note: do not add in the butter and sugar too early as it will cause the mixture to burn easily.)
to make the bread dough:
* Place bread flour, sugar, salt, yeast, milk and mashed pumpkin in the mixing bowl of a stand mixer. Let the mixer knead the dough on high speed until the ingredients come together to form a dough, takes about 8 to 10 mins. Add in the butter gradually and continue to knead for another 15~20mins until the dough becomes smooth and elastic.
* Place dough in a lightly greased (use vegetable oil or butter) mixing bowl, cover with cling wrap or a damp cloth and let proof in room temperature (around 28 to 30 degC) for about one hour, or until double in bulk.
* Remove the dough from the bowl and give a few light kneading to press out the gas in the dough. Divide the dough into 9 equal portions (about 50g each). Roll each dough into smooth rounds, cover with a damp cloth or cling wrap and let the doughs rest for 10mins.
* On a lightly floured work surface, roll each dough into a round disc. Press out any trapped air as you flatten the dough. Wrap each dough with one heaped tablespoon of the pumpkin filling. Pinch and seal the seam tightly.
to shape the dough (watch video here):
* For each wrapped dough, place seam side down on the middle of a kitchen twine, wrap the kitchen twine around the dough to form 8 segments (note: do not wrap too tight).
* Place seam side down on a greased (or lined with parchment paper) baking tray. Space doughs two inches apart to allow them to expand. Cover with damp cloth or cling wrap and leave doughs to proof for the second time for about 40mins, or until double in size.
* Bake in pre-heated oven at 180 deg C for 15 mins or until golden brown (if necessary, tent the surface with foil if the top browns too quickly closer to the baking time). Remove from oven and transfer to wire track to let cool a little. Remove the kitchen twine. Leave to cool completely and store immediately in an airtight container. If there are any leftovers after the second day, it is best to store them in the fridge, reheat/warm in oven before serving.
Recipe source: adapted from 'Carol 自在生活'


0 comments:
Post a Comment