To make these Easter cookies you will need the following cutters from The Cookie Cutter Company:
You also will need the following supplies:
.Royal icing in white, yellow, pink, orange, green,purple and black (flood consistency and stiff for outlining and details)
.Nonpareils.Ribbon color of your choice, I loved the pink!
.Tip #1 and 2
.Black edible writer
.Squeeze bottles, couplers and decorating bags
Bunny Cookies
For the white bunny,pipe two lines of stiff white icing for the ears with tip 2 and a big dot on the tail area for the tail .Add the nonpareils on tail and ears and let them set for a few minutes before dumping off the excess .
This is how the tail is going to look, adorable!
Use tip #1 to pipe the whiskers and eye. One dot of pink icing will be the nose
For the yellow bunny, I just pipe dots of pink icing for the tail and the ears, because pink makes everything pretty!
Hop...hop!!
Mr. Bunny's face can't get any easier.
Pictorial for the Easter Egg...
Easter egg cookies are super easy to make, use your imagination and play around until you get a design that you like. There are so many designs you can make using lines, scallop shapes and dots.
While the icing is still wet, pipe two purple tear shapes on each ear area. Drag a toothpick through the shapes to create a little bit of marbling effect. Let cookie dry over night before adding all the facial details
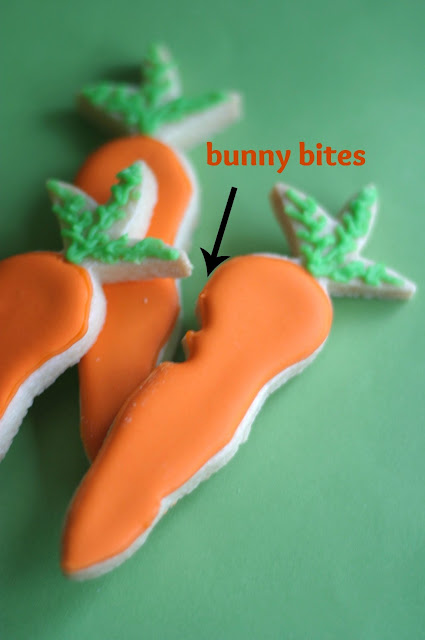
And we can't make bunny cookies without having carrots around.
I used tip #1 to make the leaves.
Have a good weekend everyone.
Disclosure: This is a sponsored post for The Cookie Cutter Company
Outline and flood the cookies and let them dry overnight.


0 comments:
Post a Comment