I received a 20" French Style Rolling Pin and an offer for a giveaway for my honest review. As always, all opinions are 100% my own.
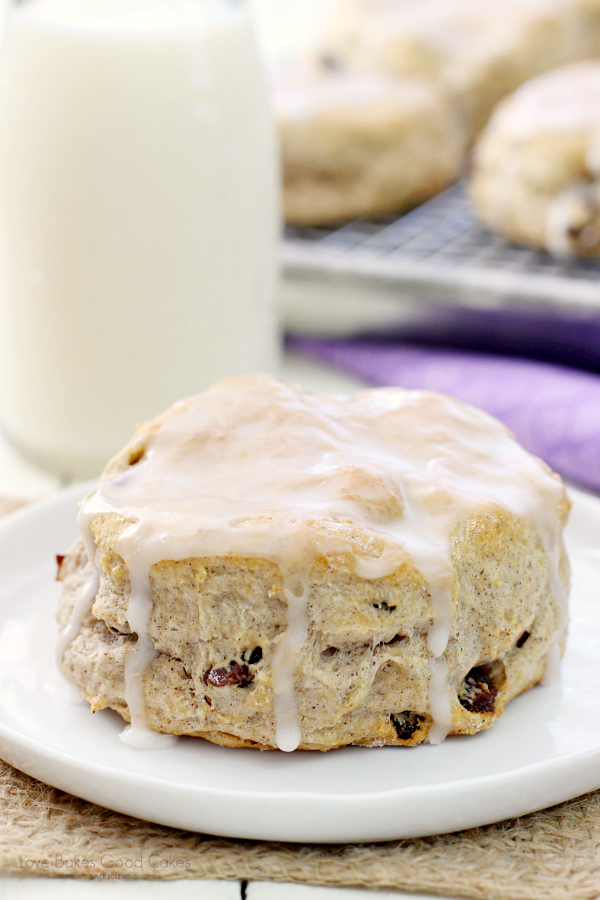
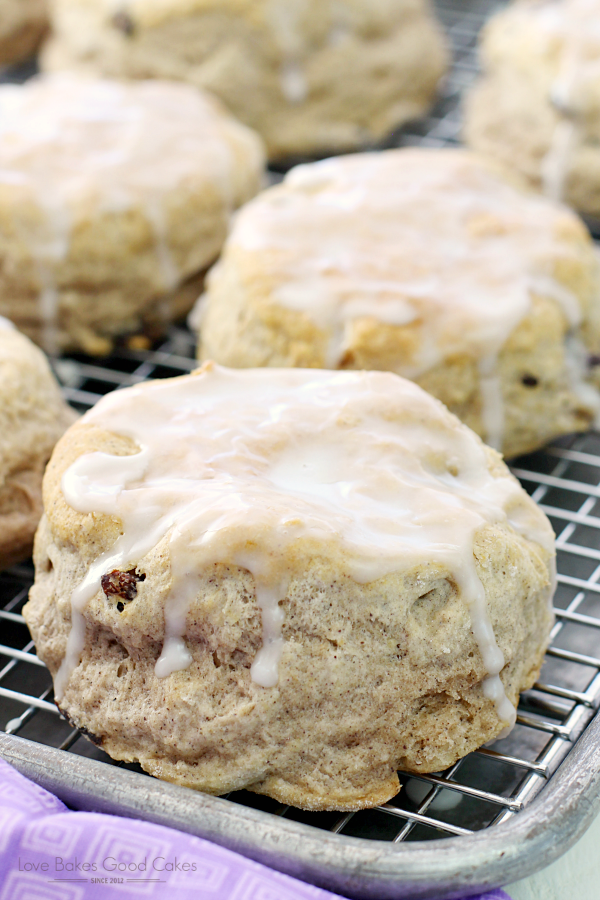
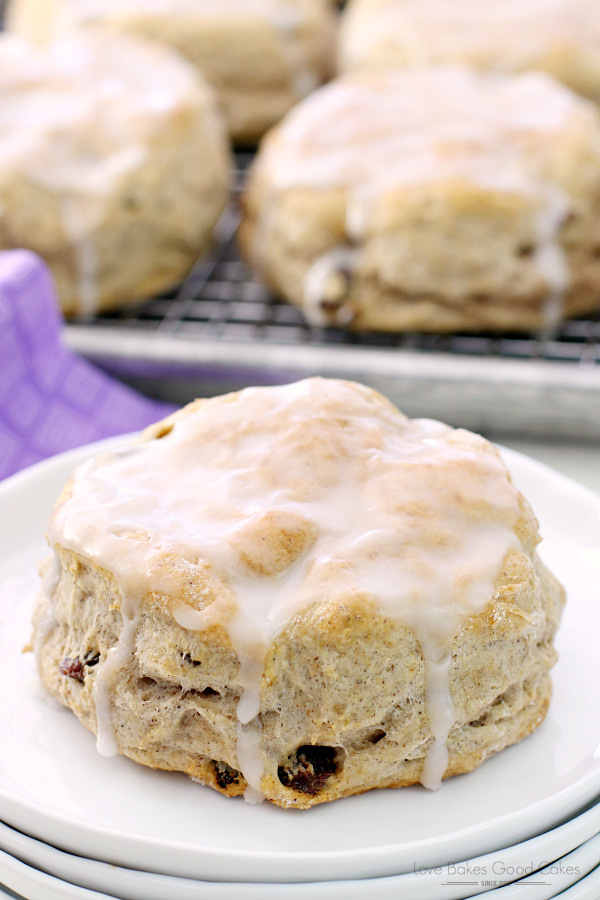
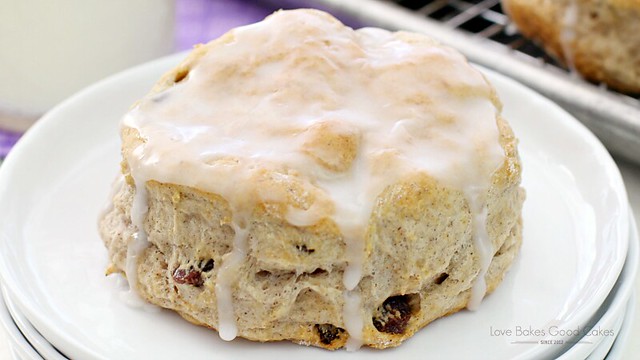
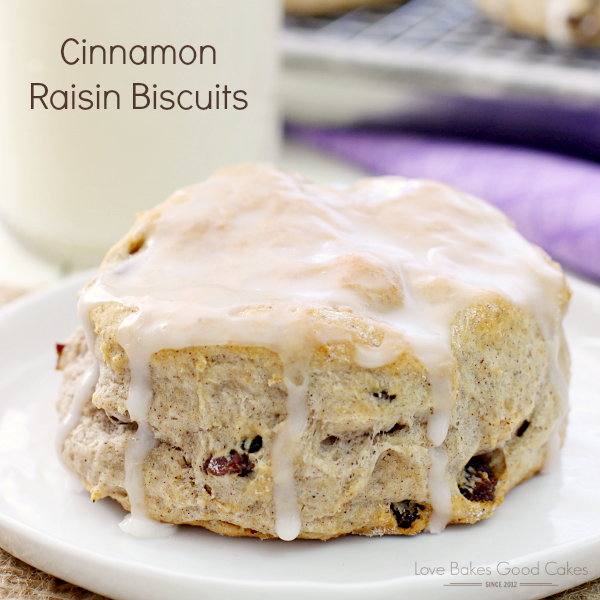
A quick and easy breakfast treat, these Cinnamon Raisin Biscuits will be a hit with the family!
Here's something you may not know about me ... about two years ago, I started collecting wooden rolling pins. I love the nostalgia and just seeing all of the different kinds of rolling pins. Wooden ones, marble ones, silicone ones, metal one ... ones that are so heavily used you know they could tell stories! How about those fun textured ones?! I even love how rolling pins from around the world look slightly different! It's such a simple tool - but could you imagine life without it?
Try rolling out a pie crust, or biscuits ... or your favorite Christmas cookies ... without a rolling pin. Sure it can be done, but a rolling pin makes things sooooo much easier. Amiright?!
All hail the humble rolling pin!
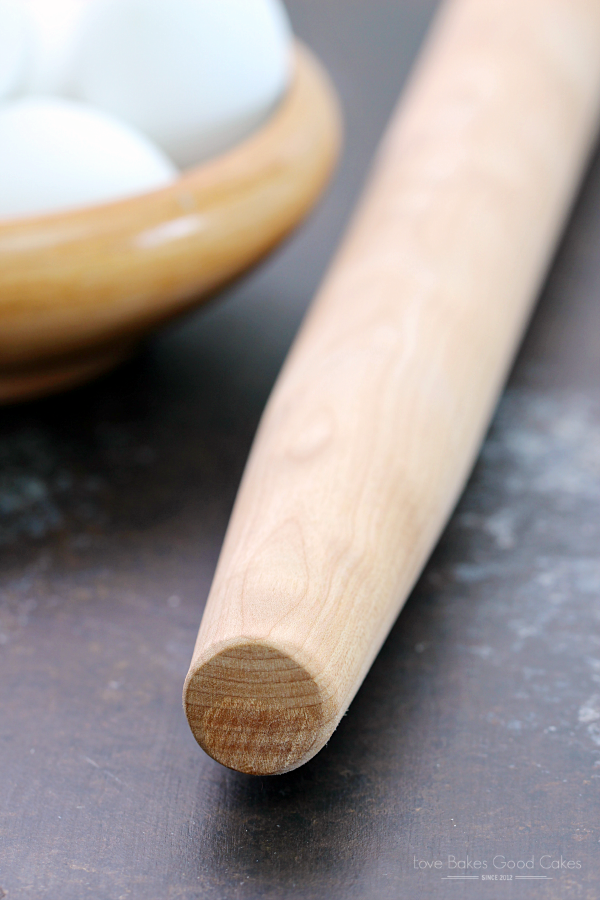
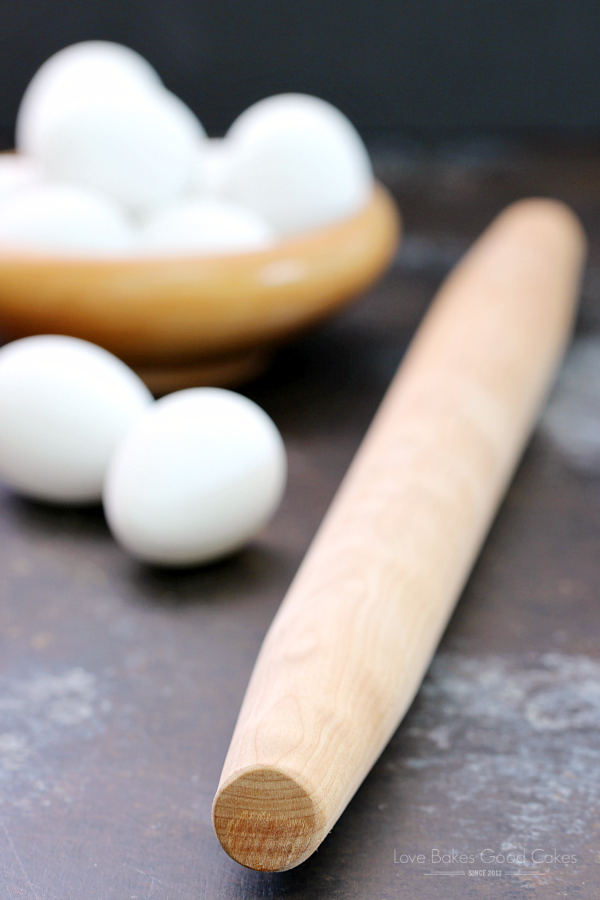
So here's the thing ... I've always wanted a French style rolling pin and I'm not even sure why I've put off getting one. I jumped at the opportunity to try one when Hilary from Lady and the Carpenter contacted me! I've made a ton of biscuits and two batches of cookies with my new 20-in. French Style Rolling Pin! Not only is it absolutely beautiful, but it has been wonderful to use! I know this is a product I will be able to pass on to my daughter and hopefully someday, a granddaughter!
I am used to working with the typical "rolling type" rolling pin - you know, the kind with the handles on each side and the middle spins?! This was my first time using a "rod type" rolling pin. A rod-type rolling pin is all one piece, sometimes with tapered ends. After using this French style rolling pin, I think it is much easier to maneuver than my rolling type rolling pins. It's a lot lighter too - without being too light to do the job. I just can't say enough great things about my Lady and the Carpenter French Style Rolling Pin! I absolutely love, love, love it!
I've been wanting to share these Cinnamon Raisin Biscuits with y'all for the longest time and I'm so glad that I am finally getting around to it! Back when we lived on the East coast, I loved to stop by Hardee's from time to time and pick up some of their amazing Cinnamon Raisin Biscuits. Living in Phoenix, I haven't found any place that even makes them ..... so I've been making them myself. Which, really, is okay with me.
If you're intimidated by the thought of making your own biscuits, be sure to check out the video above - I assure you that they really aren't that difficult to make! I think the biggest key to perfect biscuits is having an easy hand - don't overmix and don't over knead. Also, be sure to lightly flour your rolling pin before rolling and tap your biscuit cutter in flour to keep the dough from sticking! With a little practice, you'll be a biscuit making pro in no time!
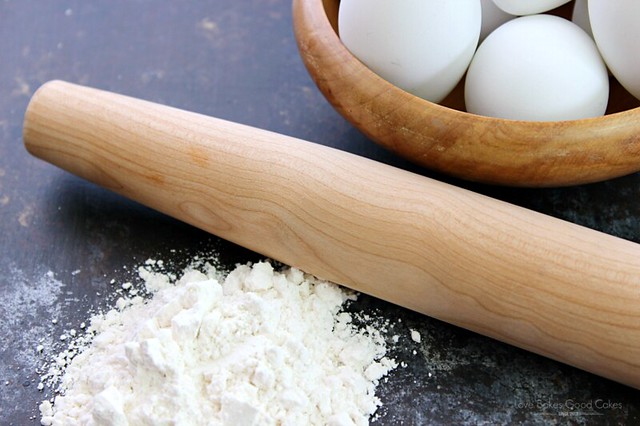
My friend, Hilary at Lady and the Carpenter, is offering one lucky Love Bakes Good Cakes reader the choice of either a large cutting board or a large rolling pin! You guys are going to love either choice - but I do want to mention the rolling pin is quite handy for this Cinnamon Raisin Biscuits recipe! :)
a Rafflecopter giveaway
I also want to mention that the holiday season will quickly be upon us!! If you're looking for a great gift idea for your favorite home cook or baker, consider shopping with Lady and the Carpenter! Their products are high quality handcrafted items that people will love for a lifetime! If you place an order before 8/31/2016, be sure to use code: 10OFF for 10% off of your order!


Other Posts You May Enjoy:
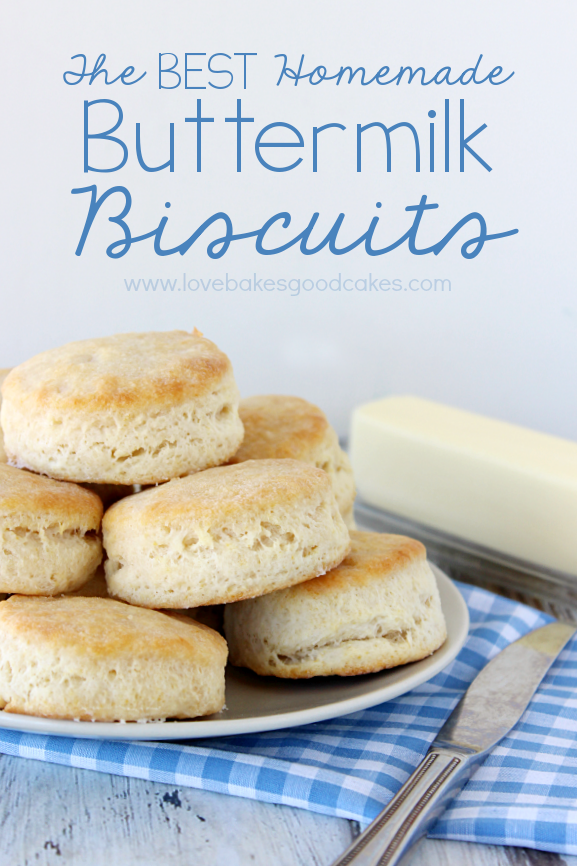
The BEST Homemade Buttermilk Biscuits
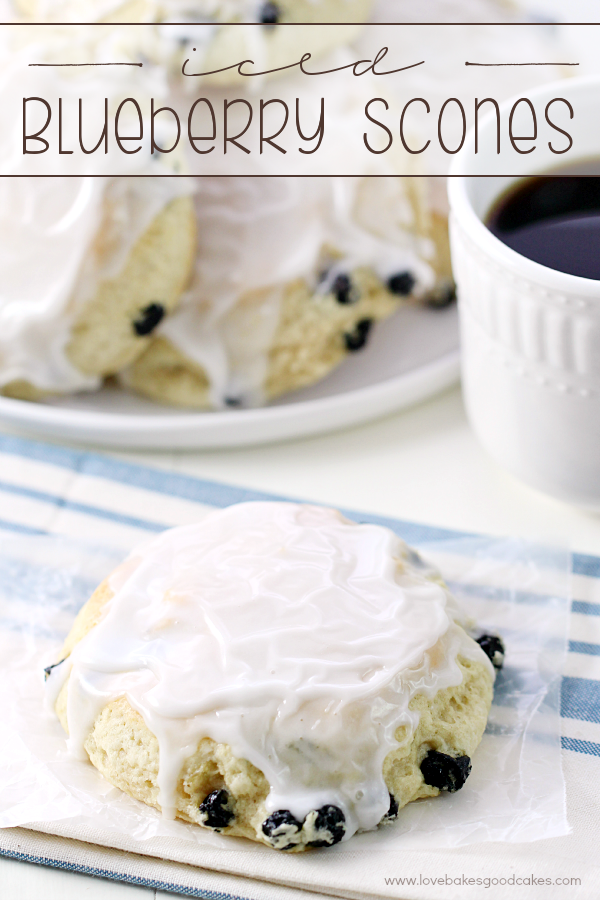
Iced Blueberry Scones

A quick and easy breakfast treat, these Cinnamon Raisin Biscuits will be a hit with the family!

Here's something you may not know about me ... about two years ago, I started collecting wooden rolling pins. I love the nostalgia and just seeing all of the different kinds of rolling pins. Wooden ones, marble ones, silicone ones, metal one ... ones that are so heavily used you know they could tell stories! How about those fun textured ones?! I even love how rolling pins from around the world look slightly different! It's such a simple tool - but could you imagine life without it?
Try rolling out a pie crust, or biscuits ... or your favorite Christmas cookies ... without a rolling pin. Sure it can be done, but a rolling pin makes things sooooo much easier. Amiright?!
All hail the humble rolling pin!


So here's the thing ... I've always wanted a French style rolling pin and I'm not even sure why I've put off getting one. I jumped at the opportunity to try one when Hilary from Lady and the Carpenter contacted me! I've made a ton of biscuits and two batches of cookies with my new 20-in. French Style Rolling Pin! Not only is it absolutely beautiful, but it has been wonderful to use! I know this is a product I will be able to pass on to my daughter and hopefully someday, a granddaughter!
I am used to working with the typical "rolling type" rolling pin - you know, the kind with the handles on each side and the middle spins?! This was my first time using a "rod type" rolling pin. A rod-type rolling pin is all one piece, sometimes with tapered ends. After using this French style rolling pin, I think it is much easier to maneuver than my rolling type rolling pins. It's a lot lighter too - without being too light to do the job. I just can't say enough great things about my Lady and the Carpenter French Style Rolling Pin! I absolutely love, love, love it!
I've been wanting to share these Cinnamon Raisin Biscuits with y'all for the longest time and I'm so glad that I am finally getting around to it! Back when we lived on the East coast, I loved to stop by Hardee's from time to time and pick up some of their amazing Cinnamon Raisin Biscuits. Living in Phoenix, I haven't found any place that even makes them ..... so I've been making them myself. Which, really, is okay with me.
If you're intimidated by the thought of making your own biscuits, be sure to check out the video above - I assure you that they really aren't that difficult to make! I think the biggest key to perfect biscuits is having an easy hand - don't overmix and don't over knead. Also, be sure to lightly flour your rolling pin before rolling and tap your biscuit cutter in flour to keep the dough from sticking! With a little practice, you'll be a biscuit making pro in no time!


My friend, Hilary at Lady and the Carpenter, is offering one lucky Love Bakes Good Cakes reader the choice of either a large cutting board or a large rolling pin! You guys are going to love either choice - but I do want to mention the rolling pin is quite handy for this Cinnamon Raisin Biscuits recipe! :)
This giveaway is open to US residents, 18 yrs old and older. Good luck, y'all!
I also want to mention that the holiday season will quickly be upon us!! If you're looking for a great gift idea for your favorite home cook or baker, consider shopping with Lady and the Carpenter! Their products are high quality handcrafted items that people will love for a lifetime! If you place an order before 8/31/2016, be sure to use code: 10OFF for 10% off of your order!
For the latest news and special offers, be sure to follow Lady and the Carpenter on social media:


Cinnamon Raisin Biscuits
by Prep Time: 10 minutes
Cook Time: 15 minutes
Yield: 16-20 biscuits
Ingredients
- 4 cups all-purpose flour
- ⅓ cup granulated sugar
- 2 tbsp. baking powder
- 3 tsp. ground cinnamon
- 1½ tsp. salt
- 1 tsp. baking soda
- ¾ cup shortening
- 1 cup raisins
- 2 cups buttermilk (or milk)
- 1 cup powdered sugar
- 2 tbsp. warm water
- ¼ tsp. vanilla extract
Instructions
1. Preheat oven to 400°F.
2. Place flour, sugar, baking powder, cinnamon, salt, and baking soda in a large mixing bowl. Mix gently.
3. Cut in shortening until mixture resembles fine crumbs.
4. Add raisins and buttermilk. Stir just until all ingredients are moistened. Batter will be slightly sticky.
5. Scrape dough onto a well-floured surface. Knead lightly 6-10 times. Roll dough out to ½-in. thickness. Cut with a 2-inch cutter and place on a baking sheet.
6. Bake for 12-17 minutes or until biscuits are golden brown.
7. Meanwhile, prepare the glaze by placing the powdered sugar in a medium bowl and adding warm water and vanilla. Mix with a whisk until smooth.
8. Brush the tops of the baked biscuits with the glaze. Serve immediately.

Don't forget to pin it!


0 comments:
Post a Comment